Revolutionary War Themed Birthday Party

My son Alex was born on the Fourth of July.  He’s a super-bright, quirky, geeky, introverted kid, so his requests are usually a little off the beaten path.  For his 9th Birthday, he asked for a Revolutionary War themed party.

Not a patriotic birthday party; he wanted the Revolutionary War.  The Revolutionary War has quite a bit of death and starvation.. not real great birthday party material.

Beyond a Betsy Ross Flag Cake, I wasn’t sure what to do, so I searched Pinterest for fun ways to approach the Revolutionary War that would be engaging for kids (simply by searching the words “revolutionary war kids“), which is how I got the idea to do a timeline.

Alex also loves maps, biking, swimming, and as most nine-year-olds; he loves the idea of scavenger hunts.

Thus was born the idea: a Revolutionary War Timeline Bike Scavenger Hunt.  On the 3rd of July, we could bike to different neighbor’s houses, re-enact some battles using water guns and water balloons, and conclude the bike-scavenger-hunt at the neighborhood pool.  This wouldn’t be a true “scavenger hunt” with racing; rather, it’d have more of a “progressive dinner” feel. (We continued to call it a scavenger hunt, however, because that sounds much more exciting for the kids.)

The timelines spend a good deal of time explaining all of the events that led up to the Revolutionary War; it didn’t just happen, and it wasn’t inevitable. Many people were happy to continue being a colony of Great Britain; so what happened to change that?

As I started to fill in the details for Alex’s Revolutionary War Timeline Bike Scavenger Hunt, I asked him how much of the War he wanted to cover.  Alex was emphatic that we conclude with the signing of the Declaration of Independence (aka – his birthday). Once I negotiated an additional “Crossing of the Delaware” in the pool, I started fleshing out the details.

The kids’ age range was from 5 to 12, with the bulk of party-goes around age 9.  Thus the timeline descriptions needed to hit the mark of clarity without too much detail.  I used  Book Units Teacher’s presentation of The American Revolution for most of my event descriptions, supplementing with Ducksters.com’s American Revolution when necessary.

Next, I needed several neighbors to assist with hosting a re-enactment in their front yard (and inviting them to participate in the battle or simply let us use their property).  Our neighborhood is the original astronaut community in Houston; the City of Nassau Bay is fantastic for many reasons, not the least of which is our fun neighbors and city ordinances that allow golf-carting.

The invitation asked kids to bring a bike, helmet, bathing suit, and towel and described the overall flow. Parents were invited to bike or golf cart, but for safety reasons, I asked for no cars.

In addition to mapping out the stops (with reasonable distances for kids), I dropped off any necessary supplies as well as a laminated “information sheet” about each stop a couple of hours before the party began.  Although I had an agenda for timing, I made arrangements with each host to call or text when we were on our way so no one was caught unaware.

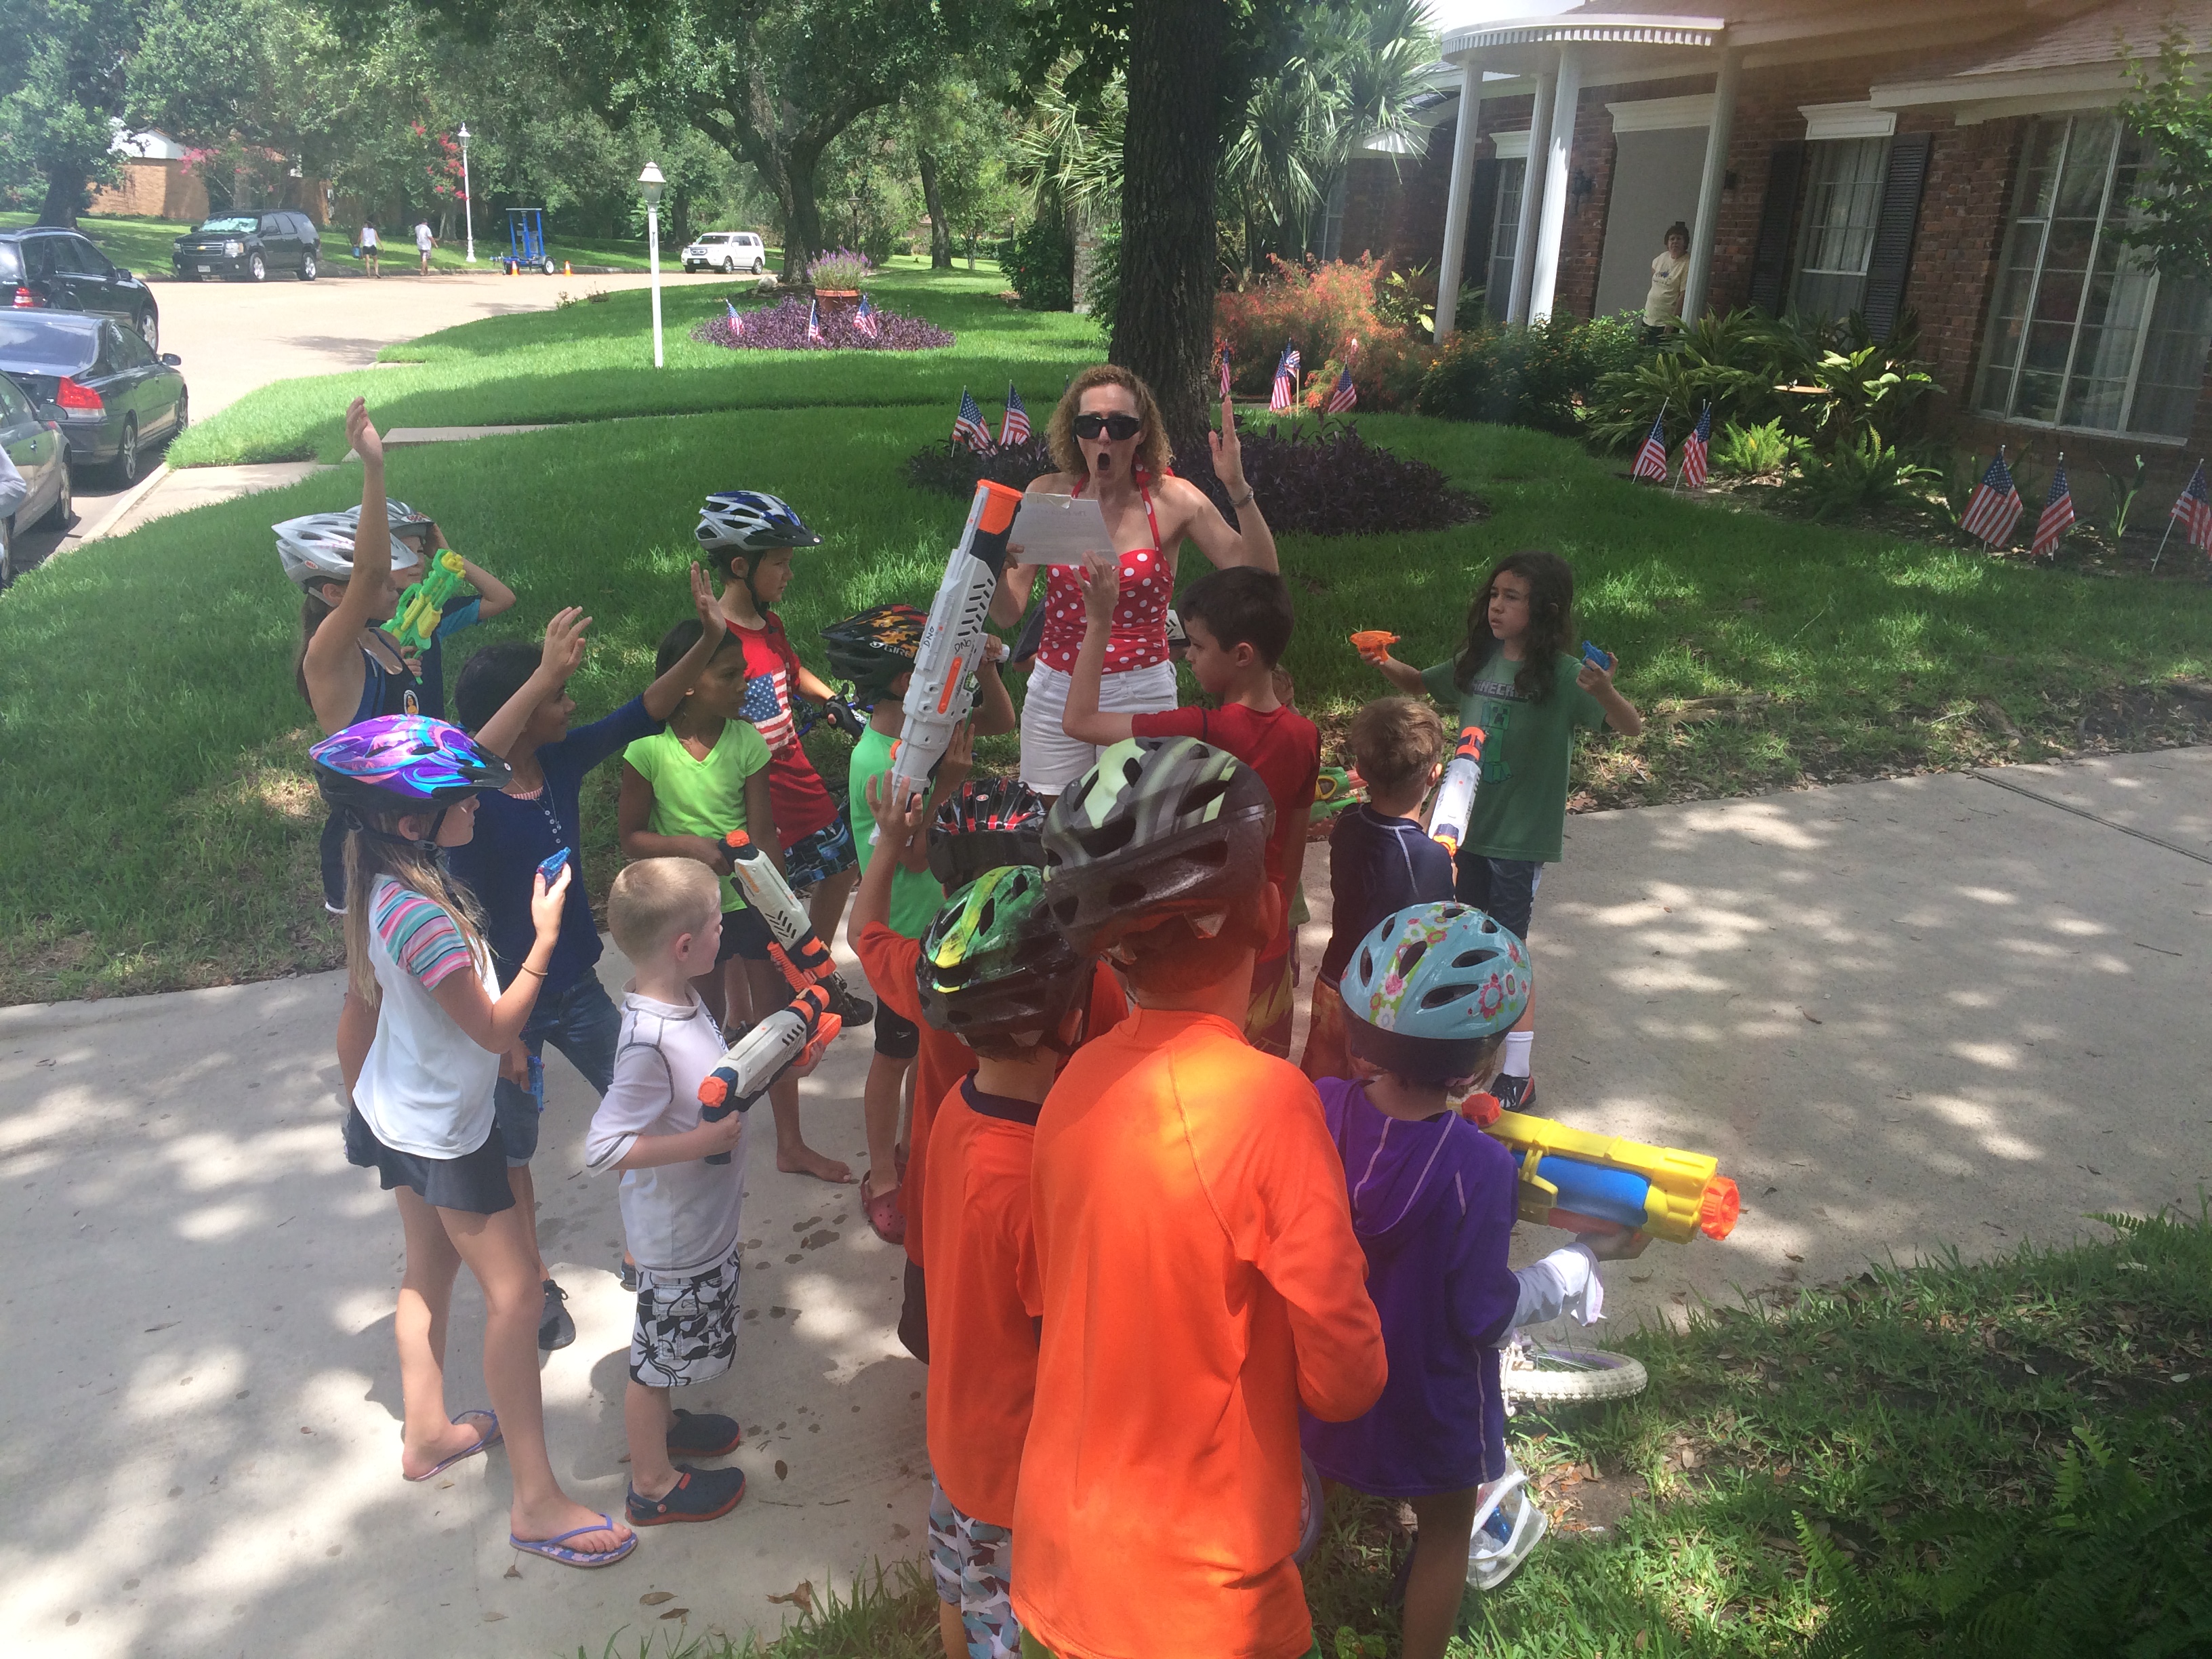
We started at our house with a Taxation without Representation simulation.  We used M&M’s as our “money” to be taxed, followed the instructions, and amended the free PDFs on Young Teacher Love as needed.

IMG_2674 IMG_2676 IMG_2688

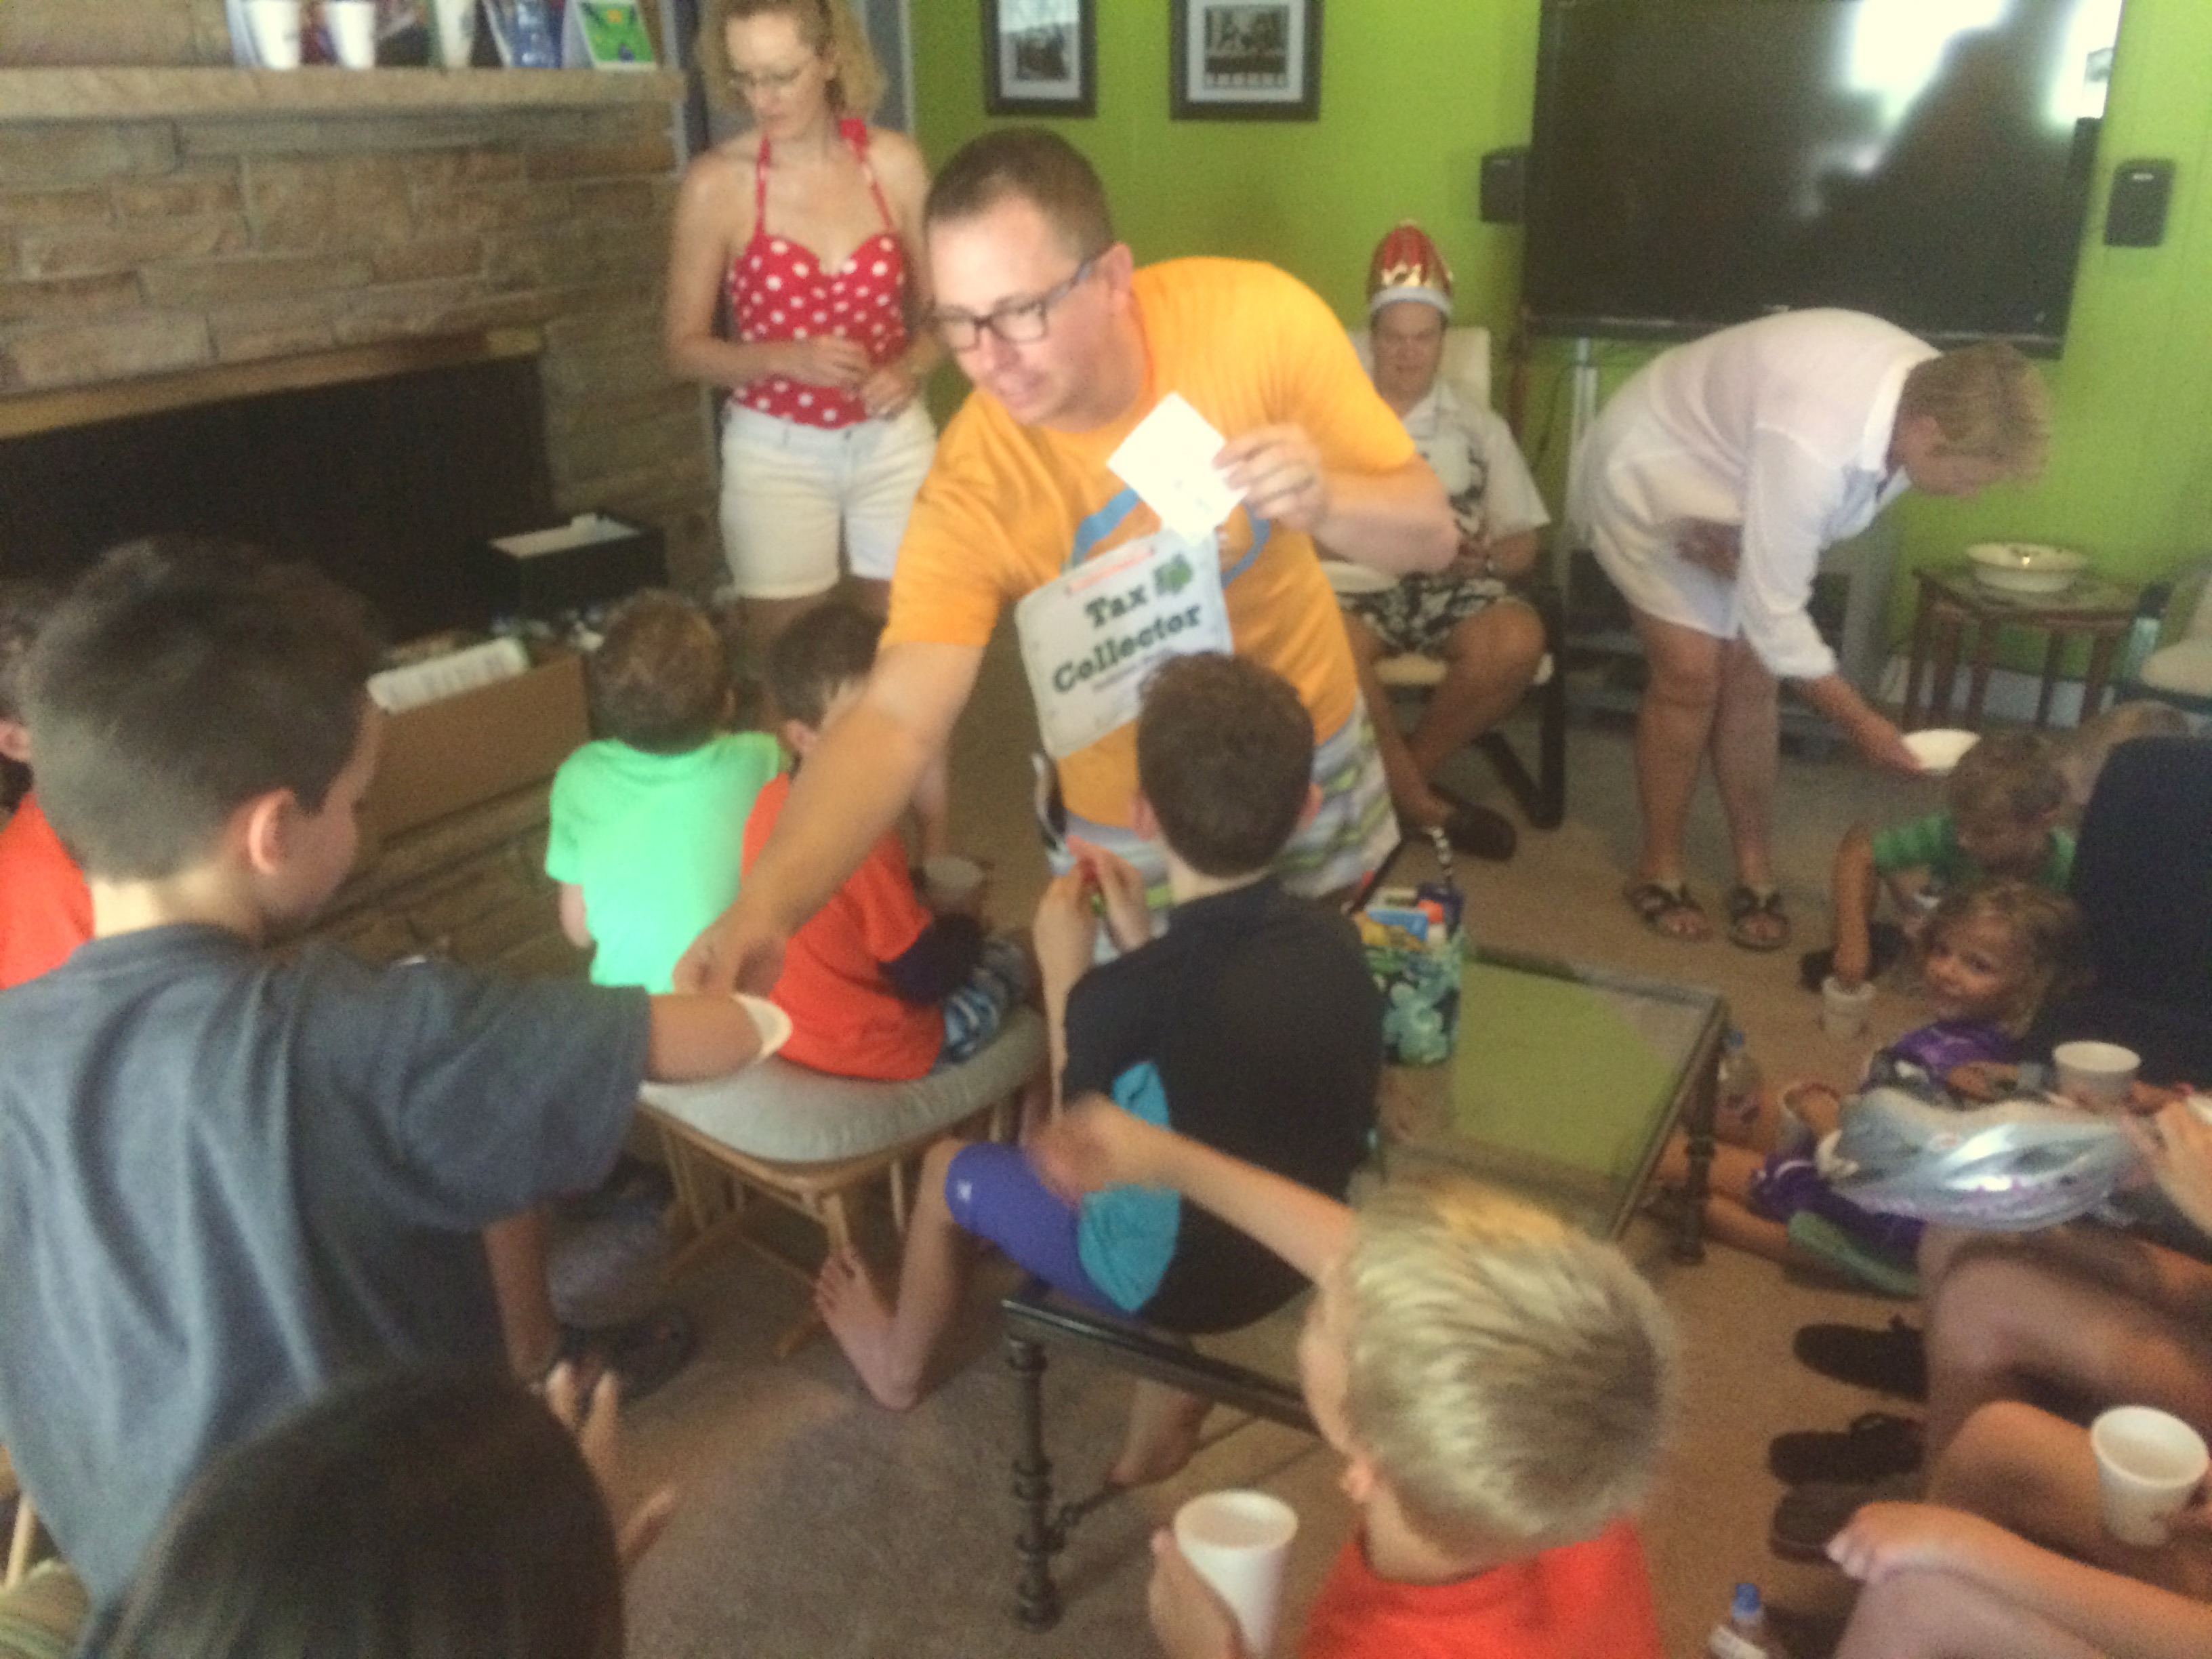
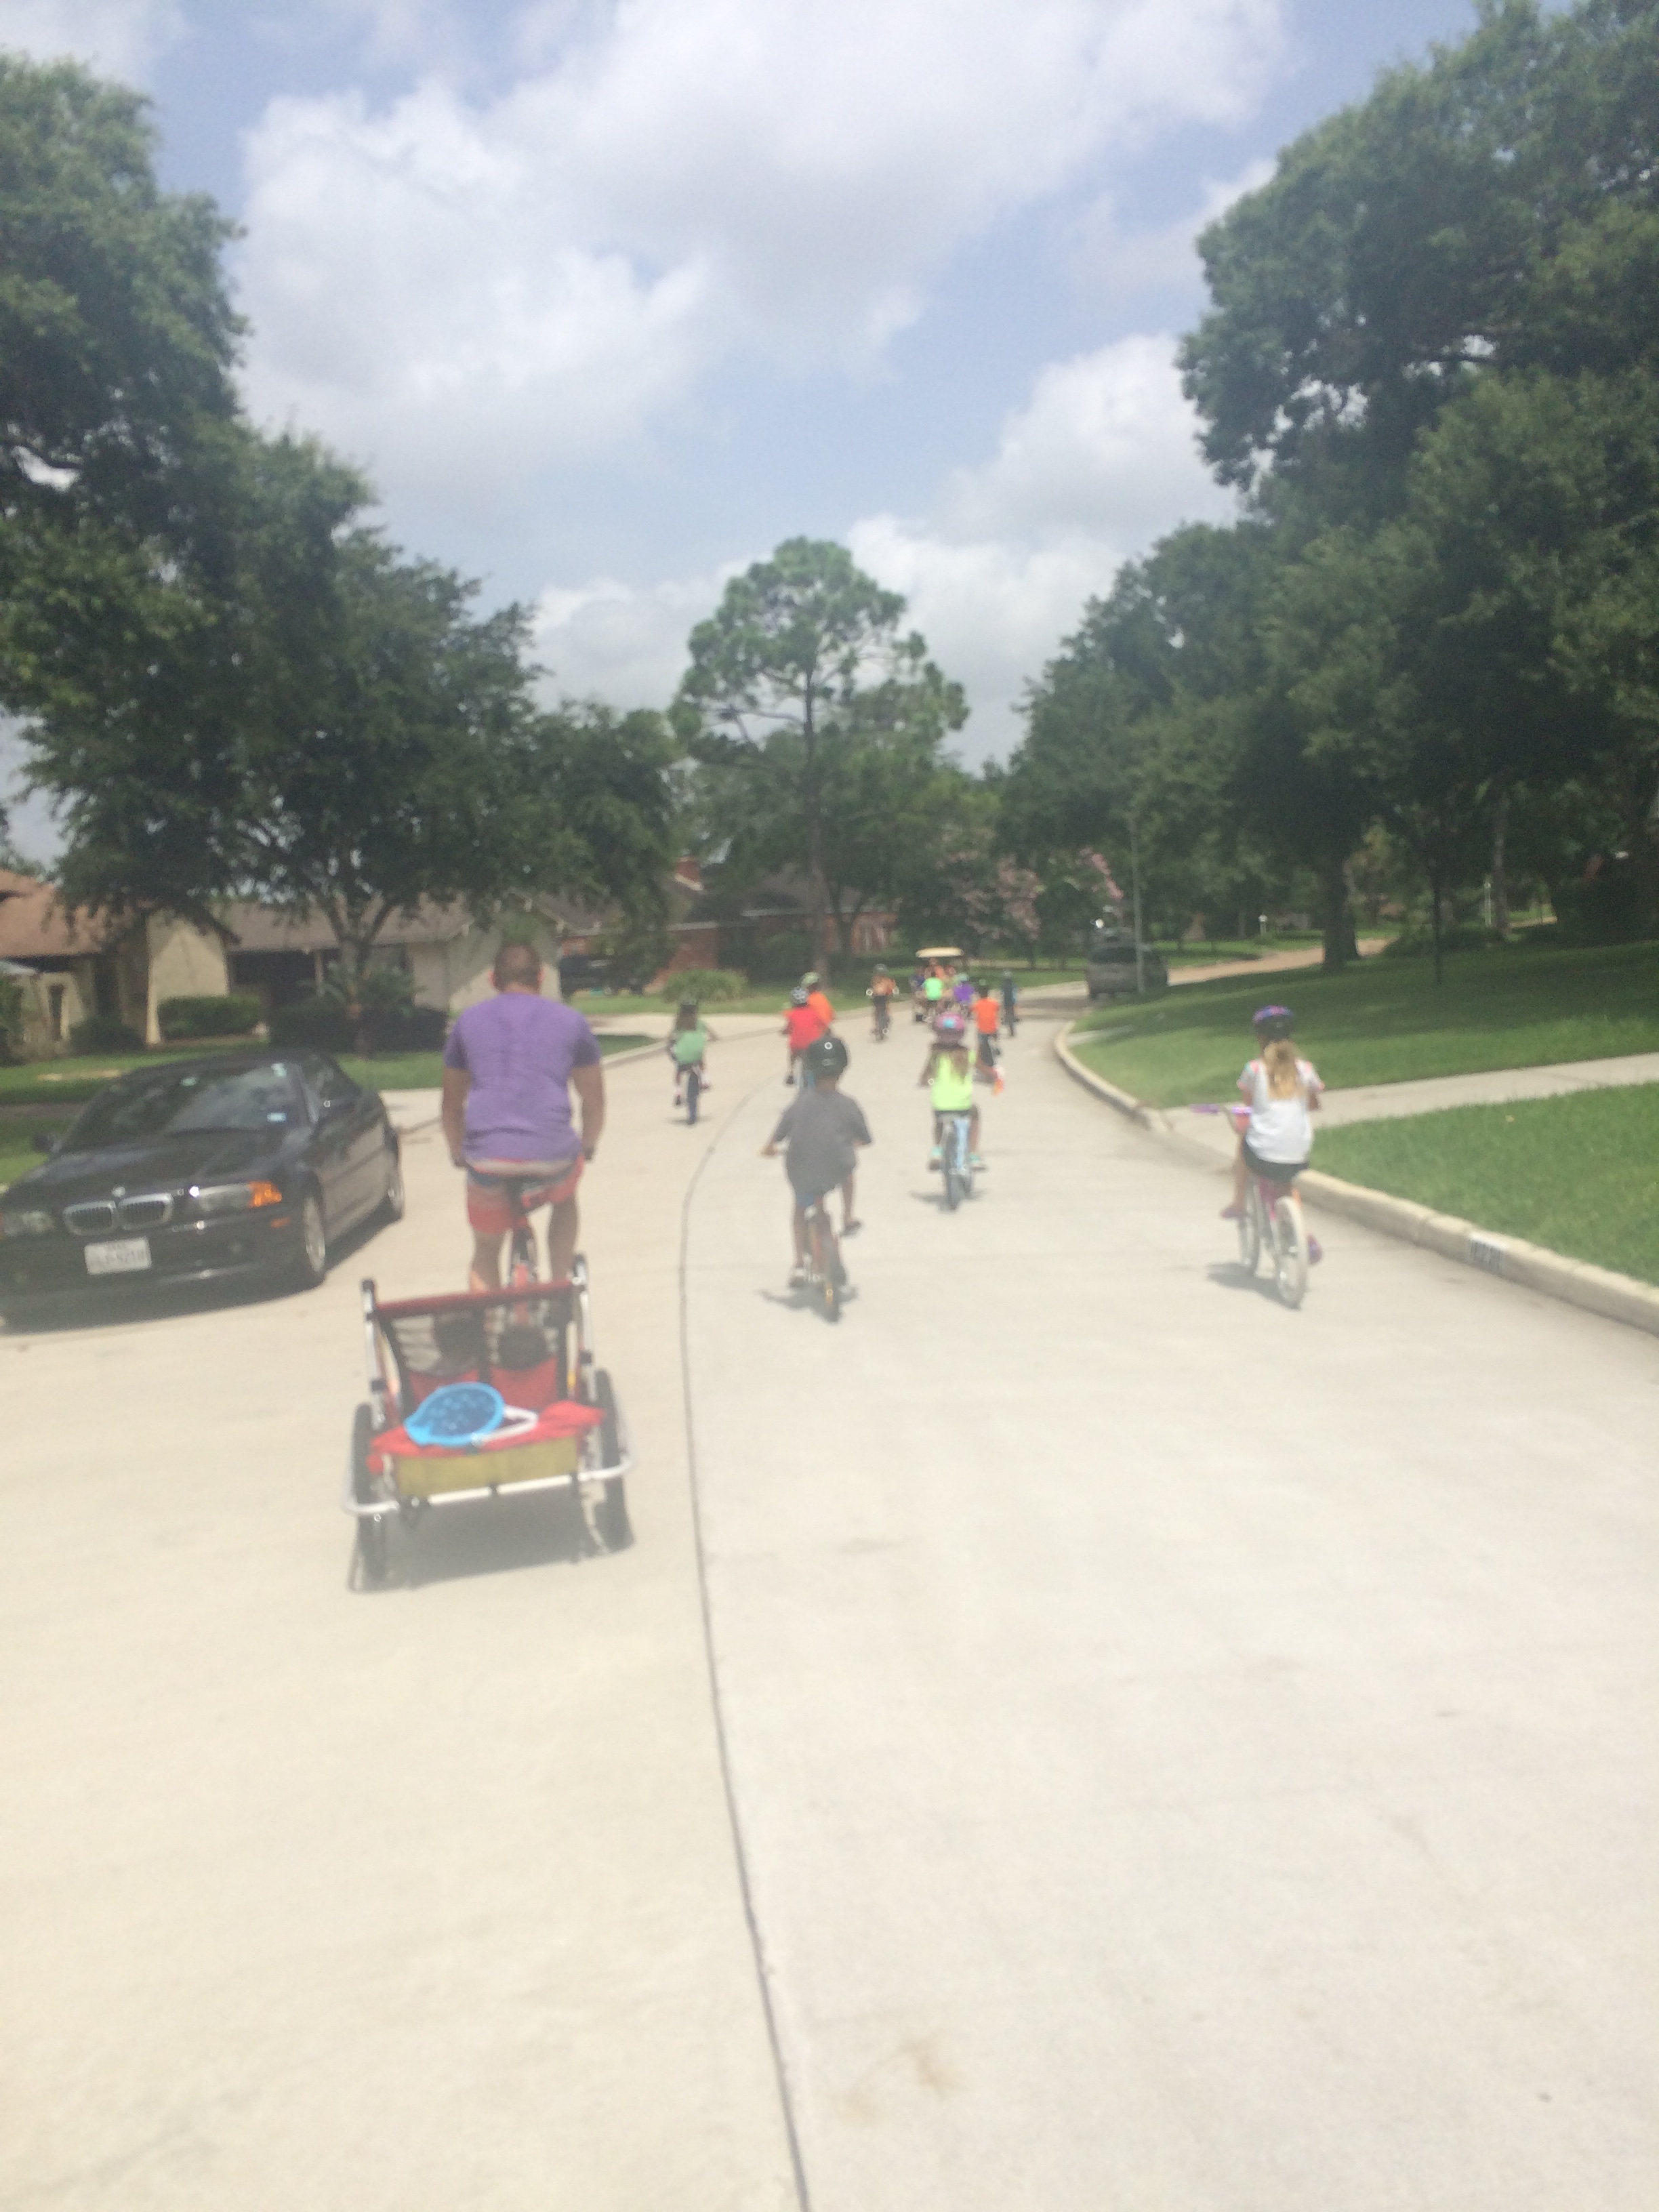
Once the kids got sufficiently annoyed by the King’s ridiculous taxes, we got on our bikes to see what happened next.

IMG_2693

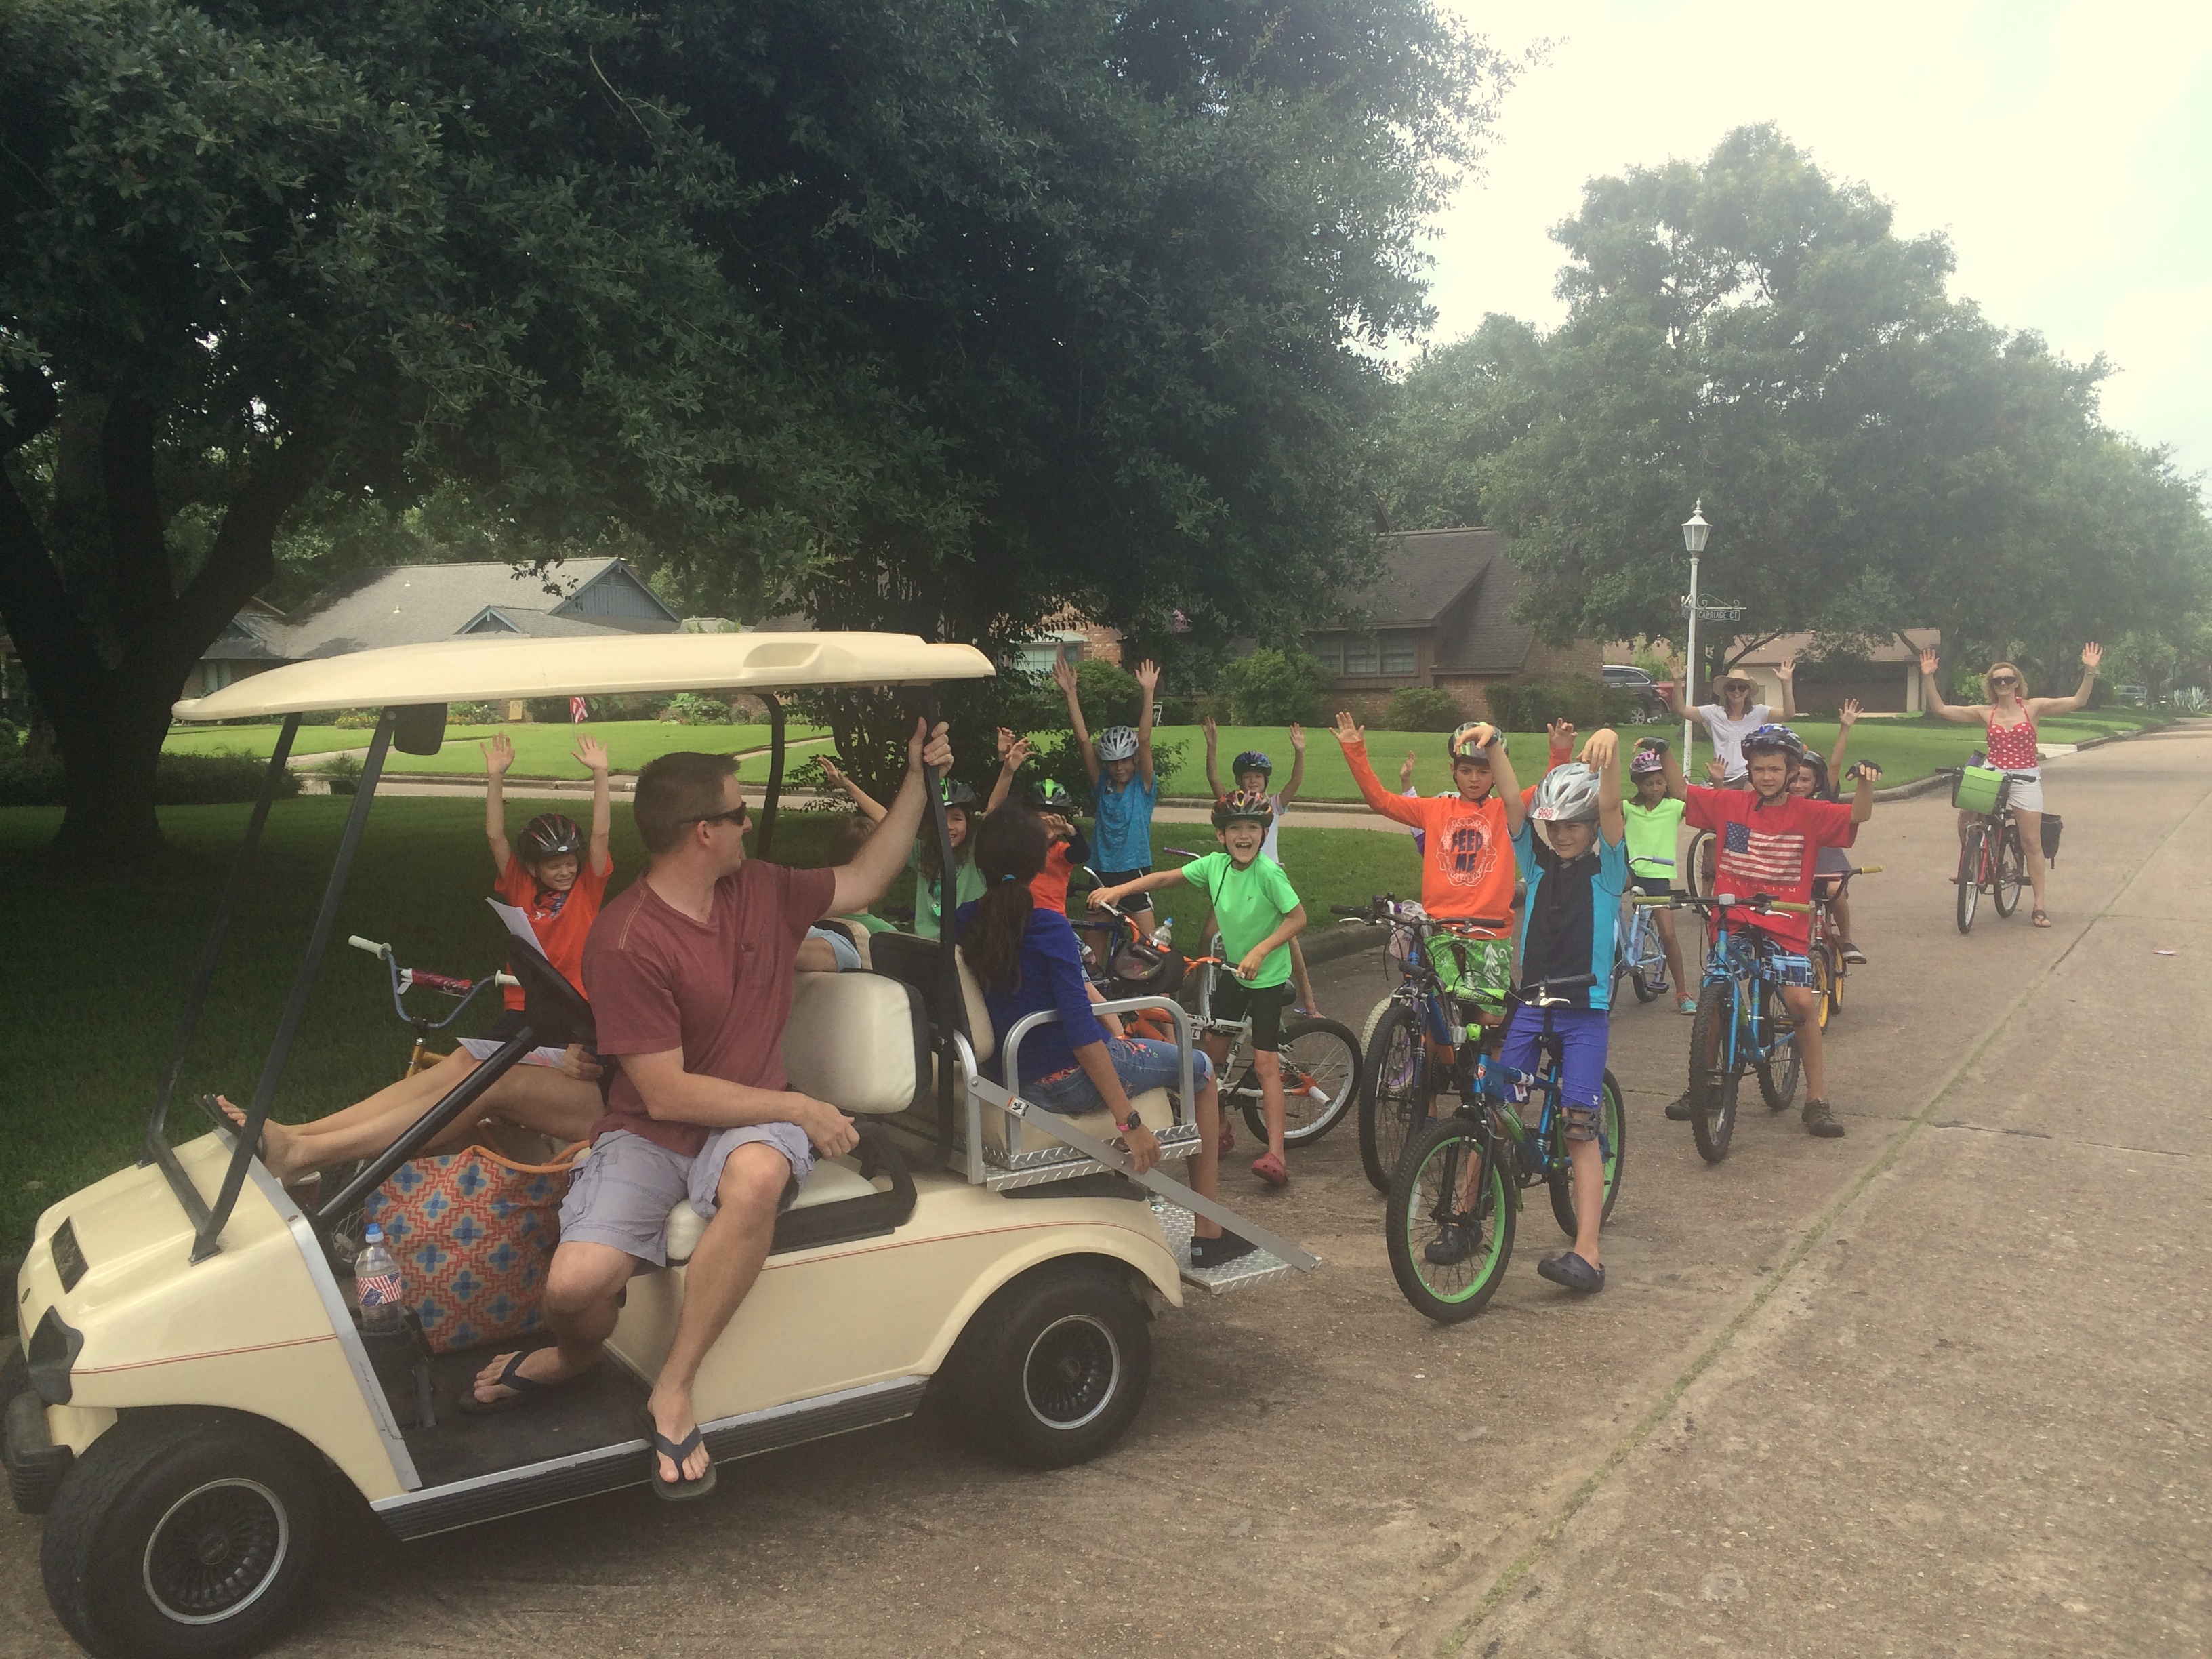
I asked one of our friends who has a golf cart to be the “pace car,” leading the bikes.  The kids understood the #1 rule: no one passes the golf cart; this is not a race.  I made sure to be at the end of our bikers so that no one would be left behind.

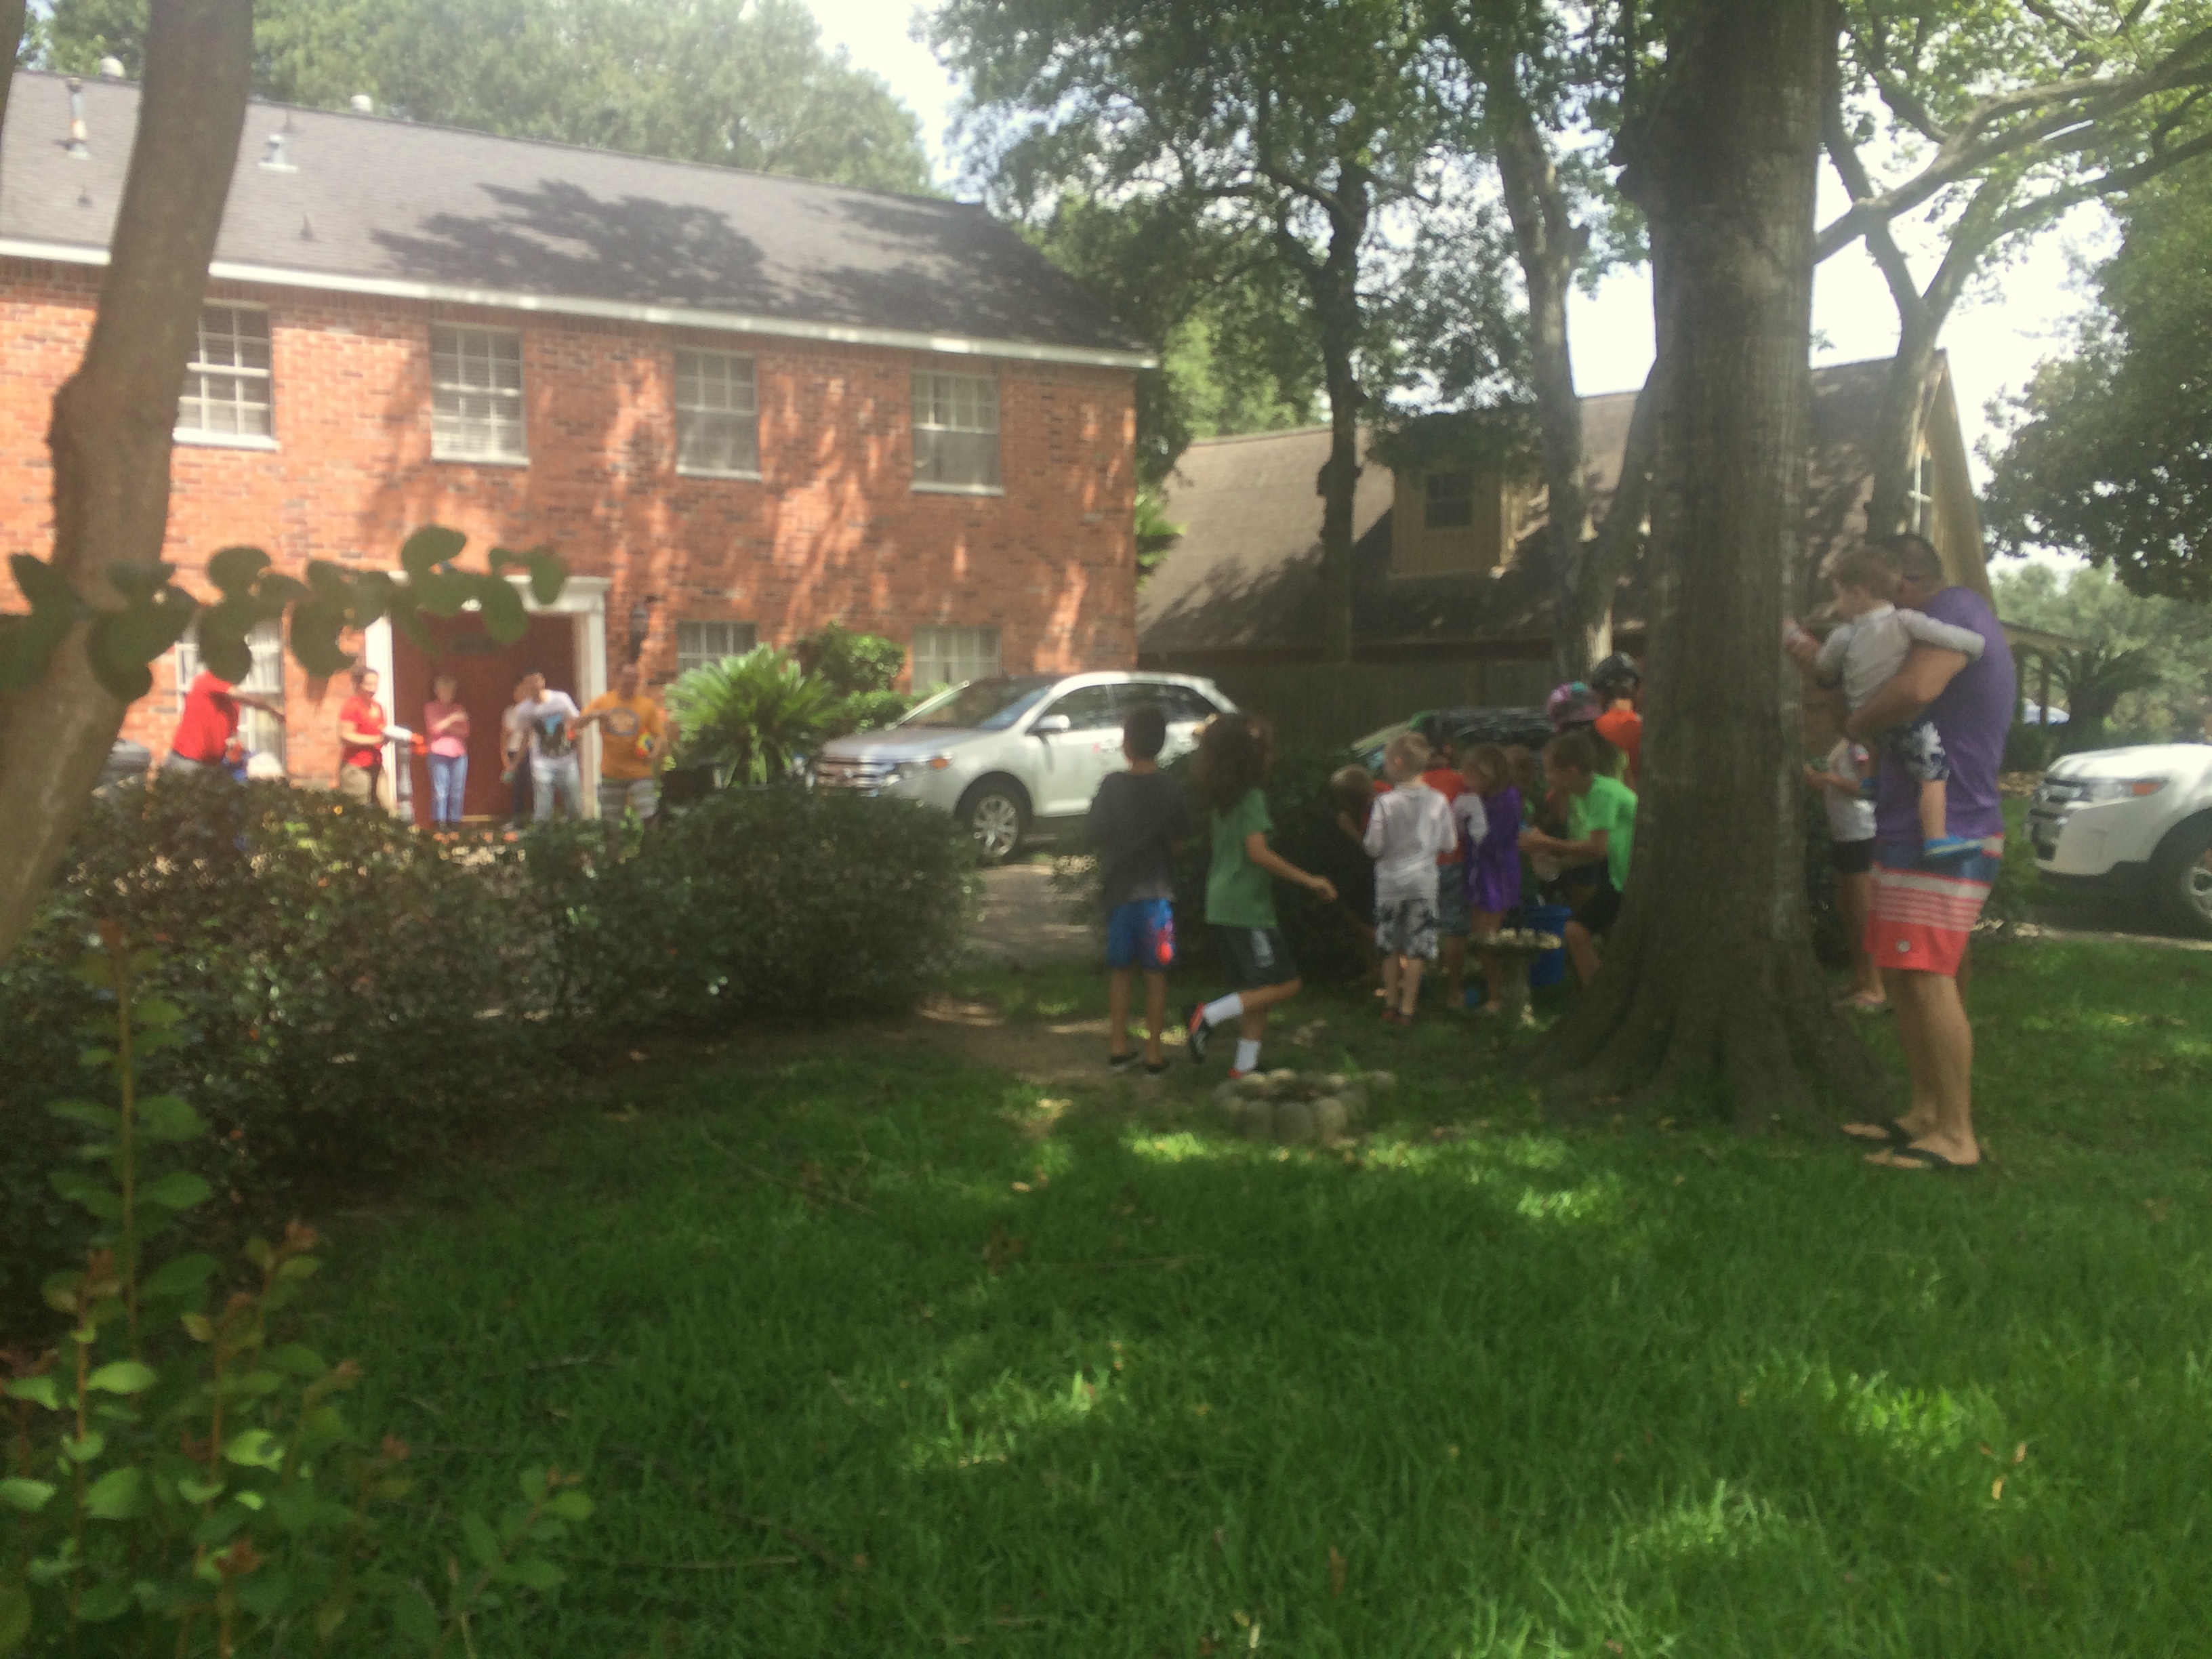
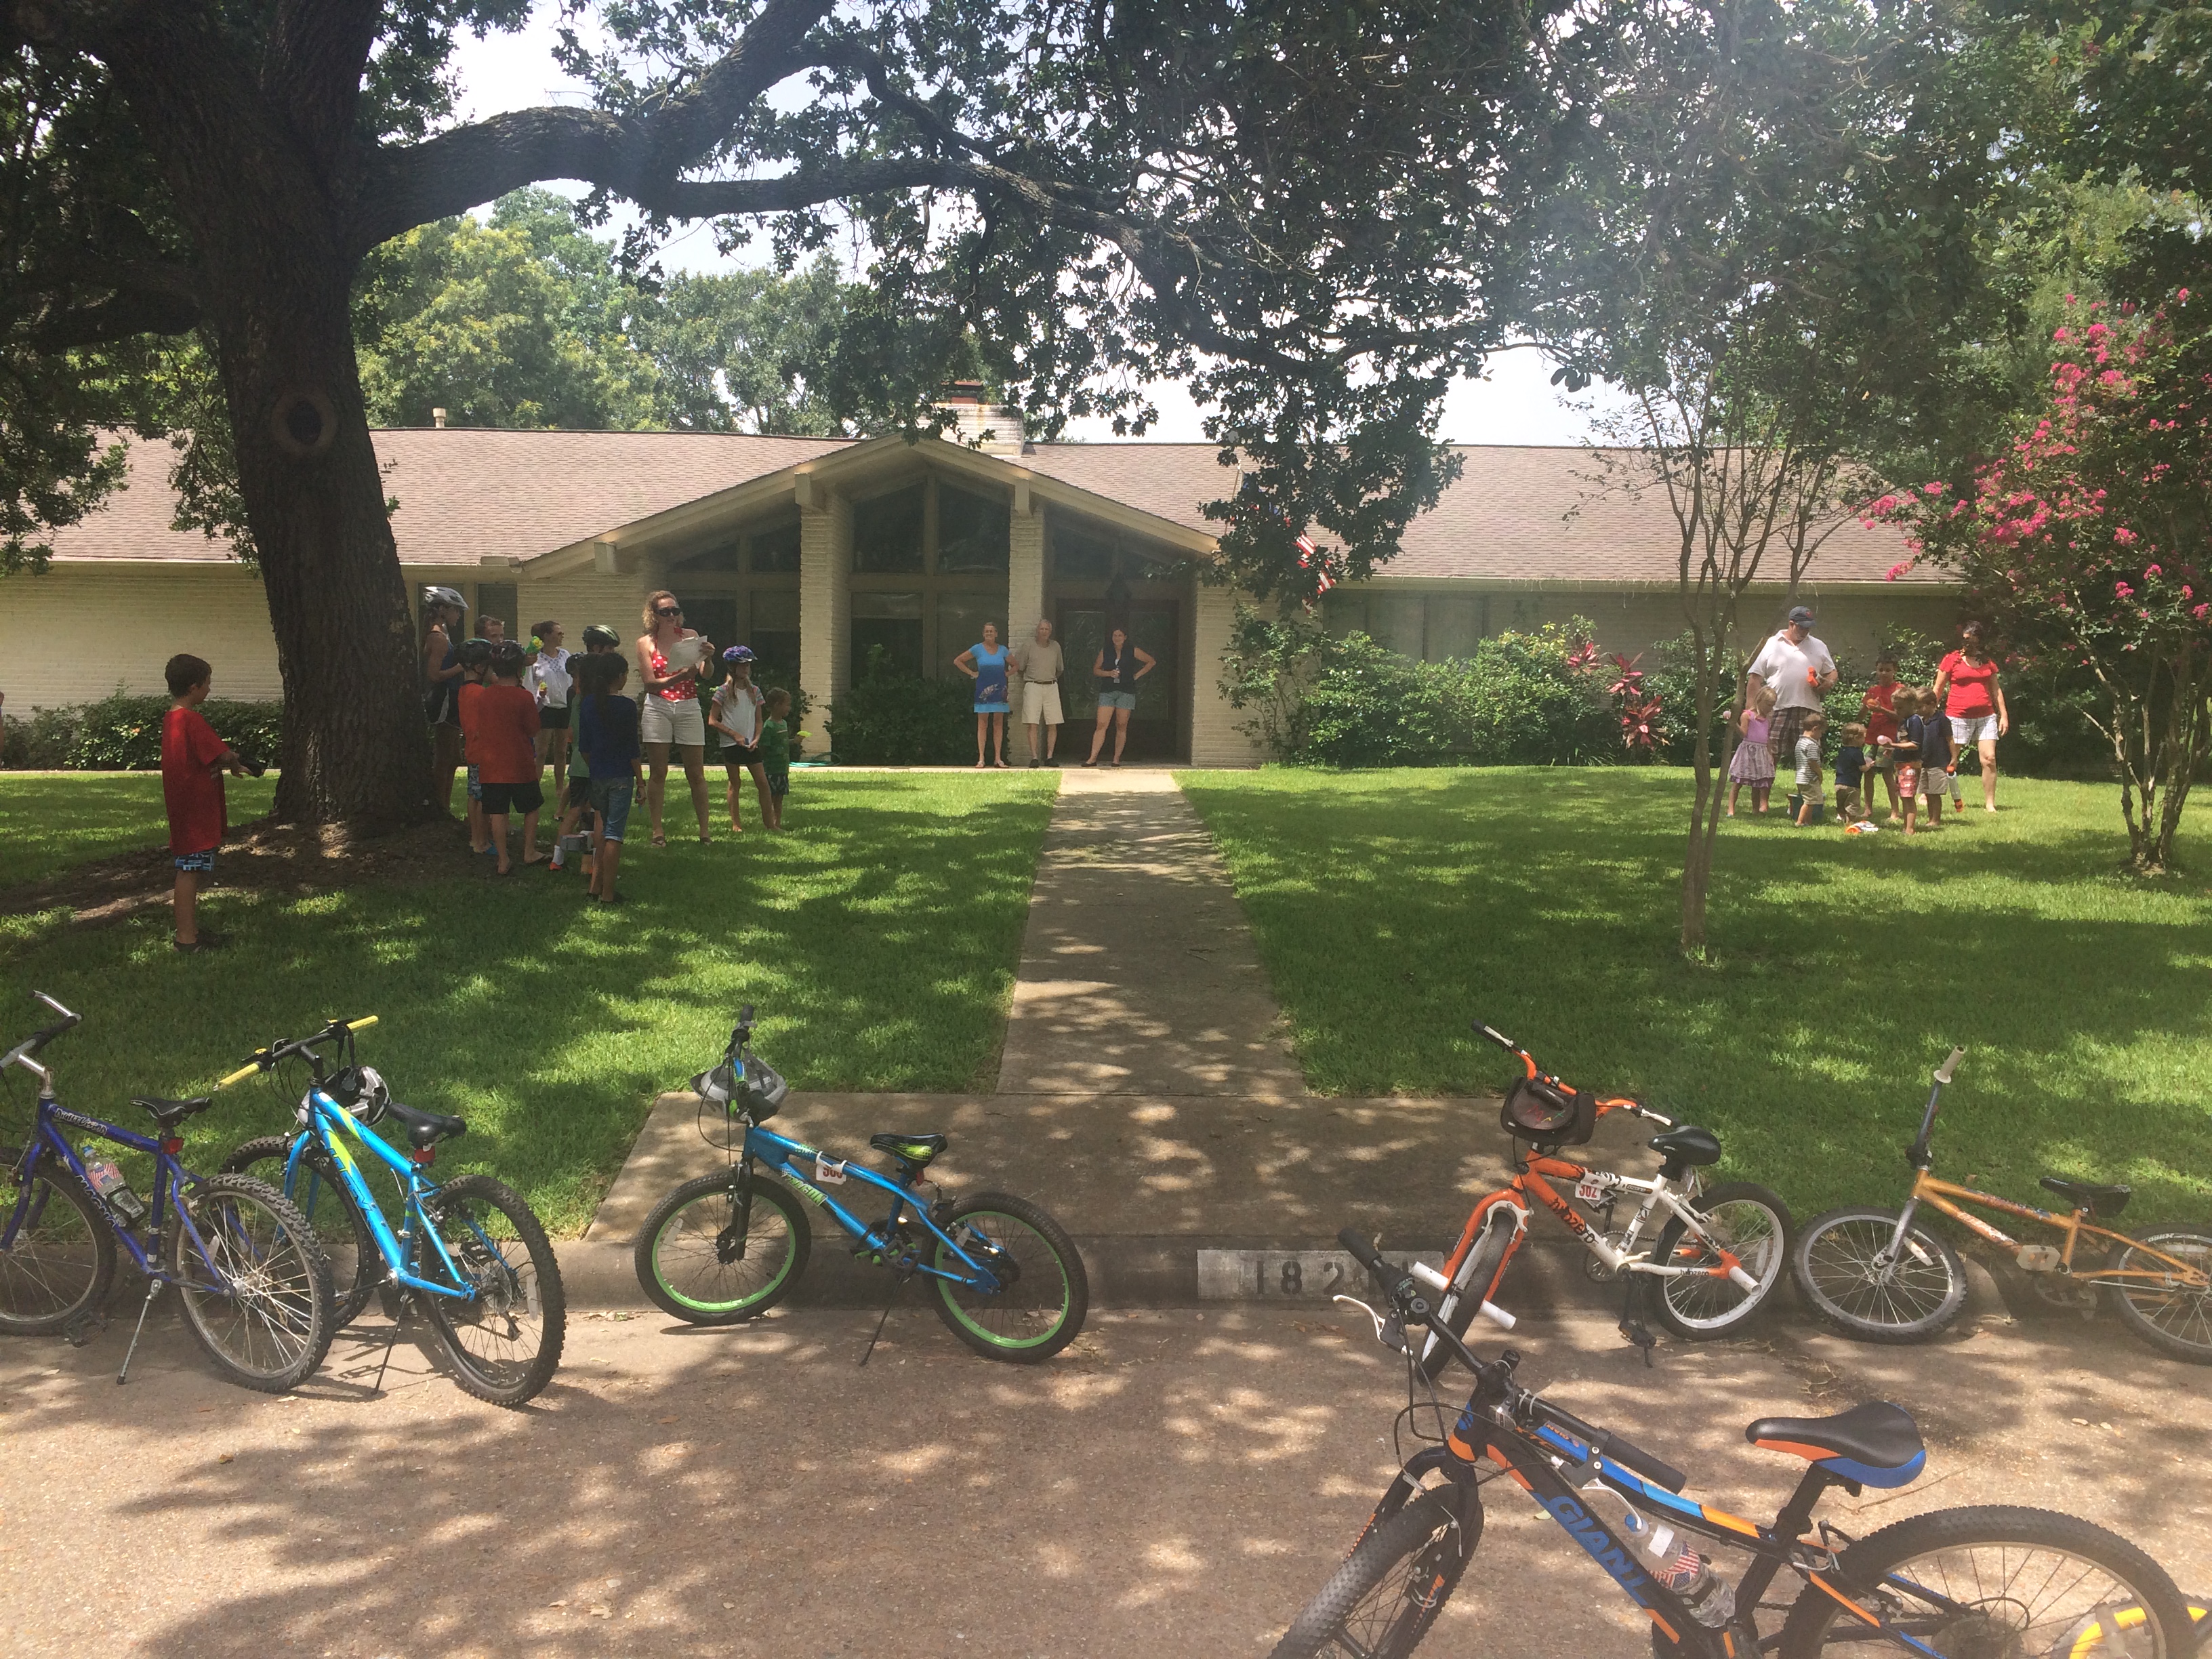
Our first stop was the Boston Massacre.  The “British” were neighbors with adult children.  Two bins of water balloons were set – one for each side, and the British soldiers were armed with water guns.  I read the description, tossing a water balloon towards the British as I read “throwing snowballs” and cued the start of the re-enactment by shouting “THE SOLDIERS FIRED!”

1 - Boston Massacre

IMG_2695

We only fought for a couple of minutes before I shouted to the Colonists: “Time to head to the Boston Tea Party!” Several “That was awesome!” remarks from the kids, and we biked off.

For the Boston Tea Party, I set up a large clothing storage bin with water (because we don’t have a baby pool), a box of super-cheap, store-brand tea bags (pro-tip: get a box that is not individually wrapped), and crudely constructed headbands with feathers,

2 The Boston Tea Party IMG_2701 IMG_2704

After explaining the First Continental Congress, I went on to read about the Minutemen. I set up a bucket of water guns, which were pre-filled for the Colonists.  These (along with water bottles) were the party favors.  They were inexpensive (about 50¢ each), but such cheap quality that I wouldn’t recommend.

3 - First Continental Congress

As we concluded the First Continental Congress, one of our neighbors performed Paul Revere’s famous ride on his bike, ringing a bell, shouting “The British are coming! The British are coming!”

We all mounted our bikes and headed off to battle!

IMG_2708

The Battle of Lexington began after my neighbor shot her kiddo’s cap gun, representing the “Shot heard ’round the world.”

4 - Battle of Lexington

Then we rode off to Battle of Concord…

5 - Battle of Concord

IMG_2726 IMG_2728

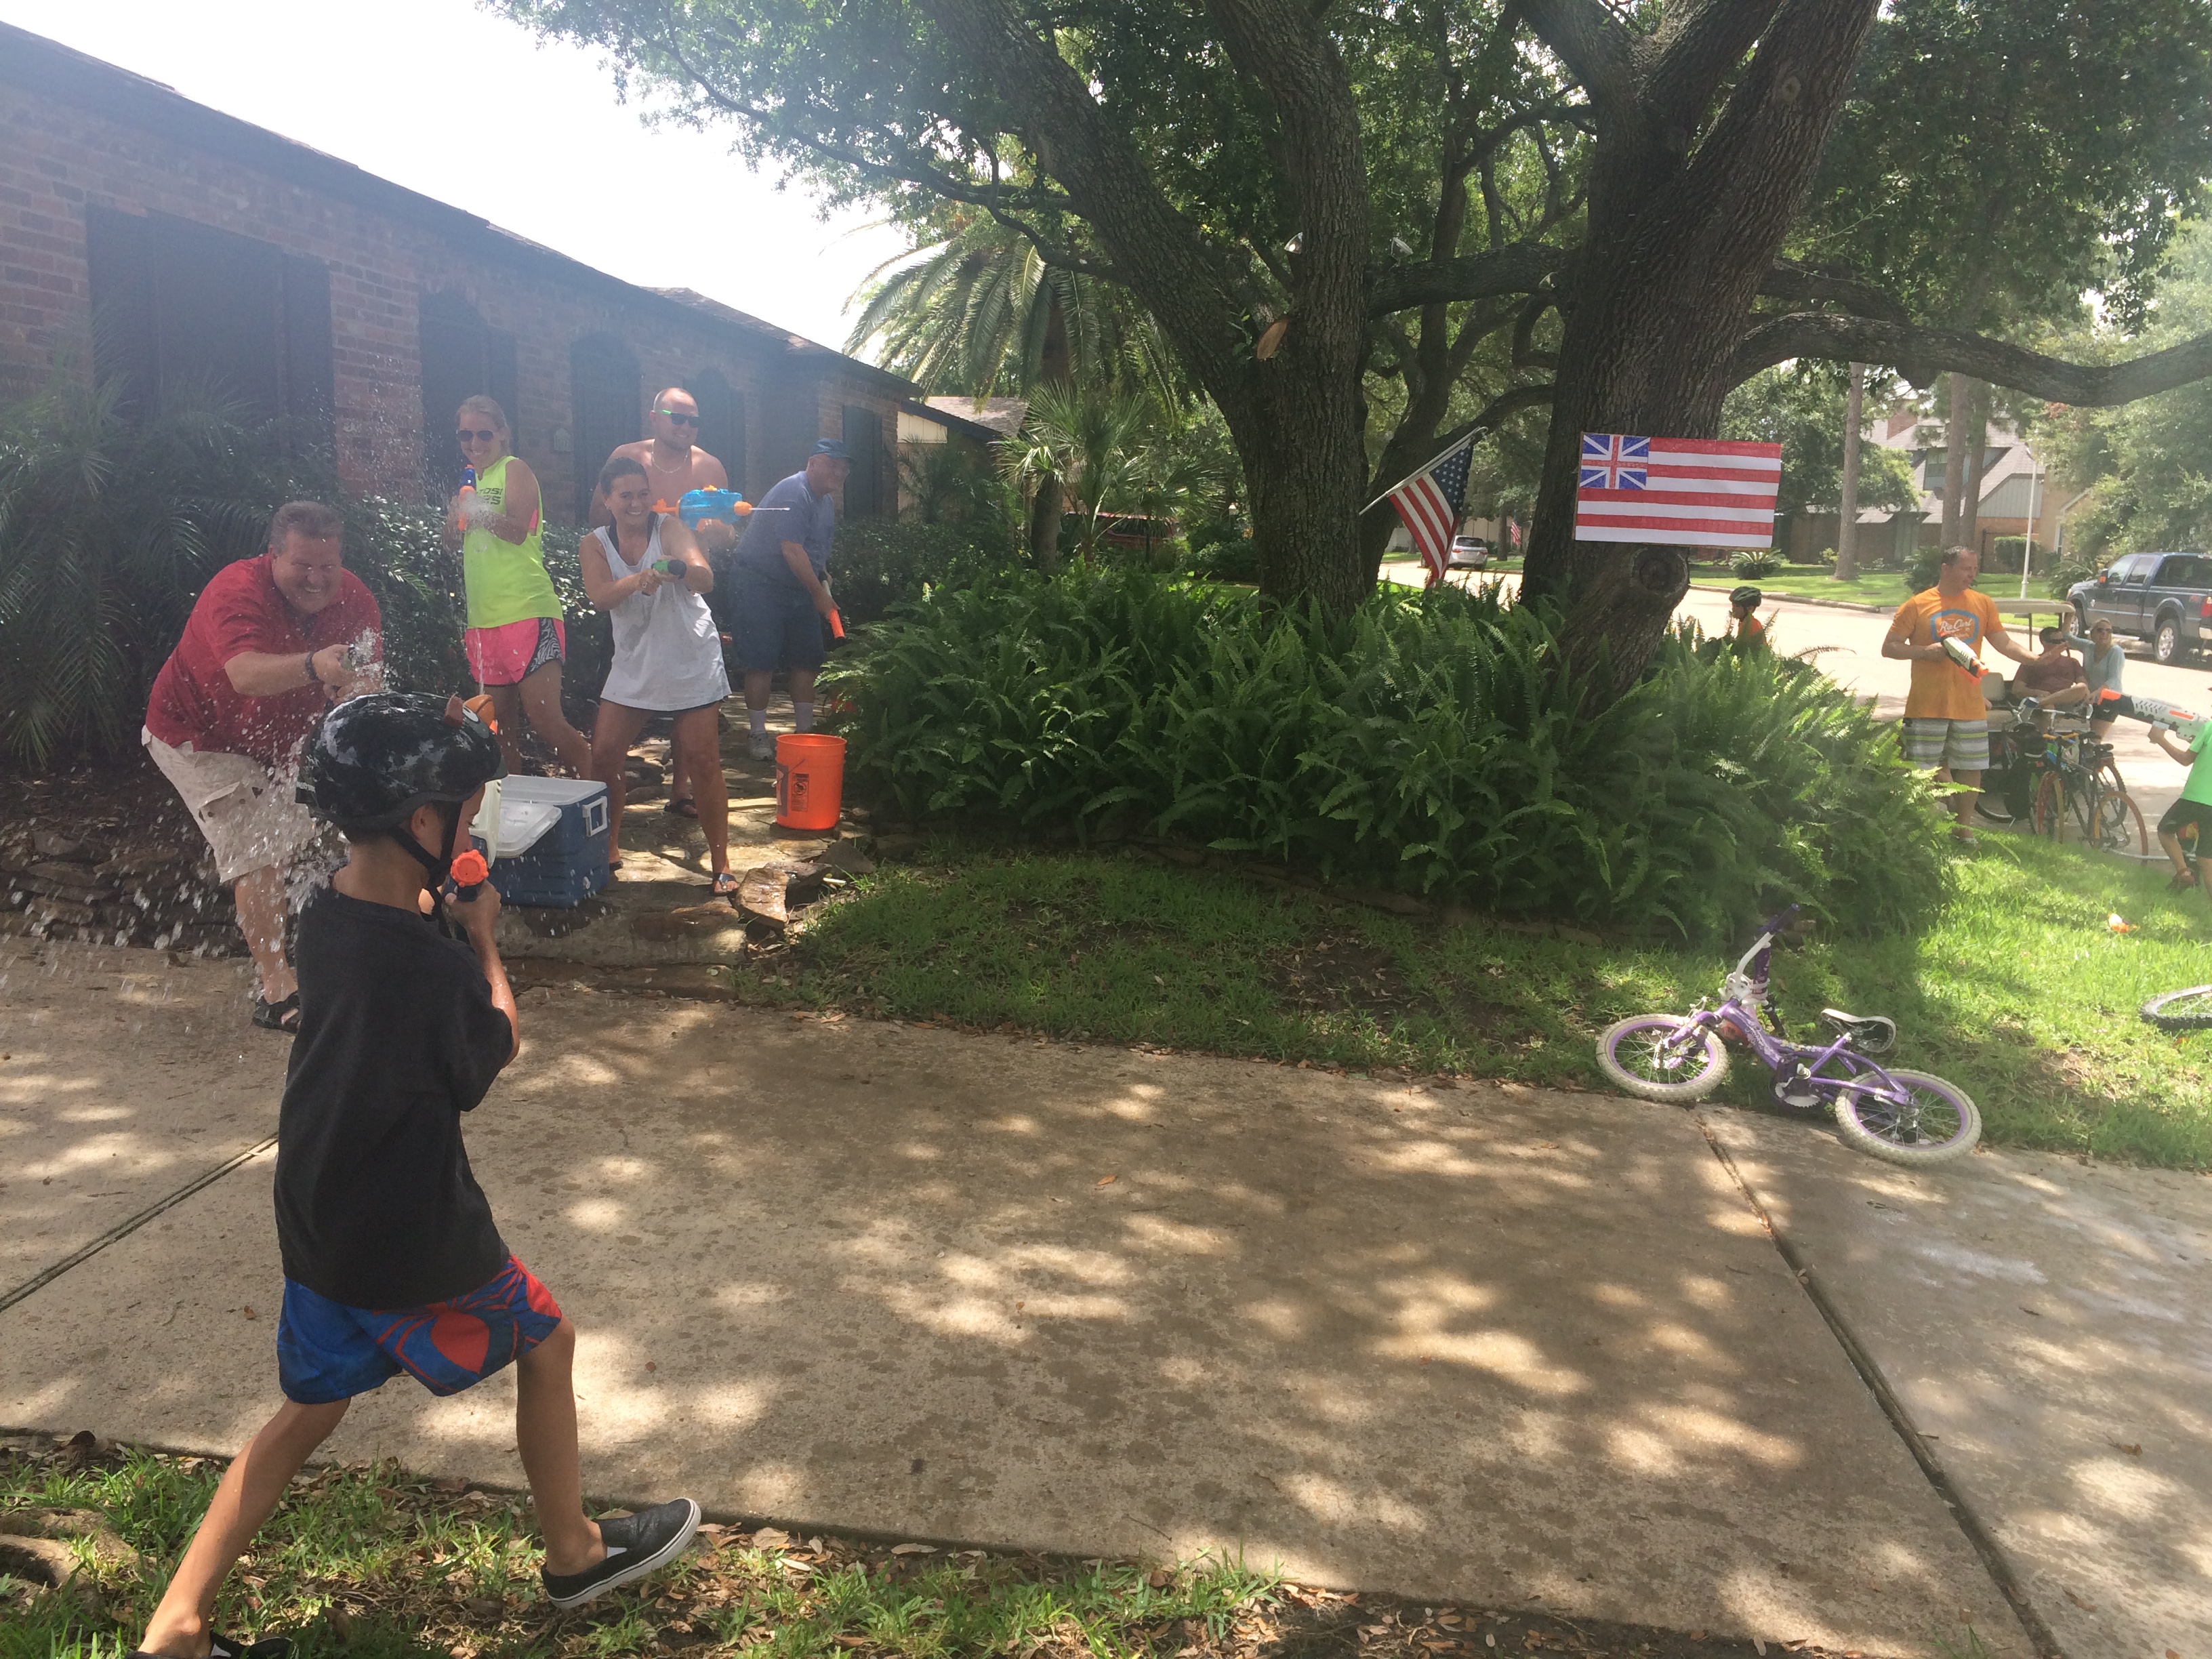
Our last stop was the Battle of Bunker Hill…

6 - The Battle of Bunker Hill

Conveniently, the kids started complaining that they were running low on ammunition. “Don’t shoot until you see the whites of their eyes!”

IMG_2734

This neighbor not only made his own British flag, but he was armed with ICE COLD water to attack the kids!

IMG_2737

Upon arriving at the pool, the kids signed the Declaration of Independence.

7 - Declaration of Independence

I got a print of the Declaration of Independence from a local Teacher Supply store for $1.50 and had them laminate it. Upon arriving, all the kids signed in Sharpie, which creates the perfect keepsake for Alex.

IMG_2788

The inflatable boats were purchased at a sporting good store (Academy), but can be purchased on Amazon.

8 - Washington Crosses the Delaware

IMG_2746

And of course, I made a Betsy Ross Flag Cake!

9 - The American Flag

IMG_2785This never would  have been a party I would have imagined or come up with on my own.  But with a little creativity and a lot of help, I was able to create one of the most fun birthday parties for adults, kids, friends, and neighbors.

Great Family Games

We love to play a good family game, and we’ve acquired a number of great ones over the past few years.  My husband likes to give a new game to each of our sons on their birthdays, and we often add a new one at Christmas.  If you’re looking for a gift, here’s seven of our favorites (with links to Amazon).

1.  Castle Panic – my favorite thing about this game is that all players are working together on a common goal – to defend the castle and slay the monsters.  It’s more about cooperation than competition.  In the end the whole family either wins or loses.  Should you need a little competition, in the end, you can recognize a “Master Slayer” who has earned the most points by defeating the most monsters.  Although the box says “ages 10 and up,” we have played this game with our boys since they were 5 and 6.  The other day my 7 year old taught his 8 1/2 year old friend how to play.  So it may require adults to learn and play at first, but this is definitely a game for kids of all ages.  Also, the box looks a LOT scarier than the actual game is.  The monsters (orcs, trolls, etc.) are on game pieces the size of a quarter.

2. Quirkle – This is such an easy game to play.  Like Scrabble, you pull tiles out of a bag.  You either match the color (with no repeating shapes) or match the shape (with no repeating colors), and earn points.  It’s challenging, but not too difficult.  We help our 7 year old when we play as a family, but the other day he took it upon himself to teach his 8 1/2 yr old friend how to play, and did so with great success.


3.  Q-Bitz – This game can be played independently or as a group.  You try to match the pattern on the card by turning the cubes on your own little wooden coaster.  There are different levels of challenge that adults can engage in so that they are evenly matched against kids.  I like that this can be a quick game – play the best out of 5 cards – if needed.


4. Ticket to Ride – My boys love trains, so this was a no-brainer. It’s expensive (at nearly $50 in most stores), but has many levels of fun.  The object of the game is to earn points by building train routes from city to city as assigned in the “Destination” cards.  Since we play with young children, we leave our cards face-up and try to collaborate and suggest solutions for and with one another.  There is a lot of strategy to this game, but it also involves an element of chance.  Bonus: it familiarizes players with geography!


5.  Blokus – This is a great spacial reasoning game that appeals to the OCD in me.  If you every played and loved Tetris… if you like to pack the dishwasher (or the trunk) just right, this game is for you.  My husband and I got this one pre-kids, but have found that they love it.  The object of the game is to play as many of your pieces as possible; the rules are that you pieces may only touch on the corners.  Again, we coach and suggest with strategy, but allow them to make their own choices.


6.  Sequence – This is another game we started playing pre-kids (with other adults), but found the kids enjoyed it.  You play on teams of two or three.  Each person get 5-7 cards marked like a deck of playing cards.  The board has two occurrences of every card, except Jacks (which are wild).  The object of the game is to make a sequence (or two) of five-in-a-row… or block the opposing team from doing so.  It’s like a cross between matching and bingo, with a fair deal of strategy.  There is a kids version, which we gave as a birthday party gift once, but have never owned.


7.  Ravensburger Labyrinth – This is a fun “treasure hunting” game that involves an ever-changing maze.  Players each get 5-7 cards with a variety of objects or characters (a dragon, a princess, a ghost, a genie, a bat, an owl, etc)… each person must travel through the maze in search of each object, and be the first to make it back to the starting square to win.  There are ways to make the game more or less challenging, depending on the age and ability of the players.


Do you have a favorite family game?  Share in the comments!


CamelBaks Aren’t Just for Hiking and Biking

20111105_030Here’s a Creative Solution: use a CamelBak anytime you want access to water but don’t want to carry a water bottle.  A CamelBak is like a backpack with a water “bladder” (reservoir) and a straw that many people use for hiking and biking.  Instead of carrying a backpack with a water bottle, fill the reservoir with ice, top it off with water, and you’ve got cold water all day:

  • At the zoo
  • While walking and touring a new city
  • At the pool or the beach – hang it on the back of your chair and pull out the “straw” when you want to drink.
  • Walking around an amusement park or Disney
  • At a kids sporting event

You can get CamelBaks in all shapes and sizes.  The most popular (and the one my husband and I have) is the Camelbak Mule, which comes with a replacable 100 ounce reservoir.

You can get a larger backpack if you need, but the storage space on the Mule is fantastic.  Moreover, when everyone has their own CamelBak, everyone carries their own stuff.  Which brings me to the kids…

On our first family camping trip, we were astonished by how much the kids loved our CamelBaks, but our packs didn’t fit them (too uncomfortably large), so we were pretty excited to find the Kid-sized version.  The CamelBak Mini Mule fit the kids perfectly. It’s got a kid-sized backpack and a 50 ounce reservoir.  The kids stay more hydrated when they use their CamelBaks, and they can carry their own stuff (snacks, maps, hats, etc.) in the little backpack.  You can find them online at Amazon, LLBean, or in stores like REI.  The Mini-Mule prices range from about $49 – $89, so definitely shop around.  We asked the grandparents to make the Mini-Mule their Christmas gift to the boys, which was a win-win: not a toy, and it lasts for years!  (Note: the Mini-Mule is very rugged, but occasionally, we do need to replace the “bite valve.”)

On our Summer travels this year, we used the Camelbaks when we hiked a couple of trails in the Adirondacks.

Lake George

I really wish I had thought to use them when we walked the Freedom Trail in Boston.IMG_2295


They were perfect for our walk on the Great Wall of ChinaCamelbaks on teh Great Wall

So whether you’re into hiking and biking or just being a tourist, I think CamelBaks are a great Creative Solution.

~~~~~~~~~~~~~~~~~~~

How do you clean the CamelBaks?

Empty out the water (suck out whatever’s in the straw. too), stuff the inside with paper towels, turn it upside down, and let it dry out for a couple days.

IMG_0002They also make “Cleaning Kits.” But we’ve always just air dried them… I mean if you aren’t responsible about drying them mold/mildew grows and you have to replace the reservoir.

Traveling Tips: iPod Touch and Headphones for Kids

This Creative Solution explains which gadgets we use for our kids while traveling – and why.  We live a-ways from family: a minimum of a 3 1/2 hour car ride or a 3 1/2 plane ride.  When my boys (now 6 1/2 and 8) got to be of the age where we would consider a video gaming system or a portable DVD player (or both), we opted for iPod Touches.

Why?

  1. The adults in the house have iPhones that the boys love to play with, so this would give them their own version of the gadgets we use
  2. The iPod Touch is versatile: movies/shows, games, interactive aps
  3. The newer iPods allows them to FaceTime and iMessage their Aunts, Uncles, Cousins, and Grandparents (who have iGadgets)
  4. It also has a camera
  5. Rugged cases

The longevity of application and versatility won the cost analysis.

So, first is the iPod itself.  We originally got each kiddo an 8GB iPod 4th Generation (now available refurbished).  New, they are now only offering iPod 5th Generation 16GB.

Honestly, in cost analysis today, I can’t say I’d choose an iPod Touch over an iPad Mini…

Anyhow, when purchasing gadgets for kids, a rugged case is a must!  Given the choice, I’d usually choose (and recommend) an Otterbox because of their guarantee.  When purchasing cases for my own kids, however, I found that my older child’s neurotic preferences for color combinations was strong enough to sway me to a non-Otterbox brand that promised kid-safe ruggedness.  Two years in and no problems!

    Multi Color Hybrid Hard Plastic Silicone Case For Apple iPod Touch 4 4th,Rugged Hybrid Case for iPod 4G (Blue+Green)

OtterBox Defender Series Case for iPod touch 5G

Child friendly headphones are another must in my book.  You don’t want to have to listen to that-noise.  Please don’t subject your traveling neighbors to listening to that-noise.  While my older one has been satisfied with random ear buds, my younger one has a sensitivity.  He prefers over-the-head.  I have found that the kids version of the Uprock Skullcandy Headphones works really, really well.  They’re definitely rugged (in case your kid might be like mine and leave them in a walking path to be trampled upon).  Unfortunately, Amazon tells me that the Uprock headphones are discontinued by the manufacturer.  I’ll update this post if I hear any more, but we have been really pleased with the quality and durability and comfort of these.

Skullcandy Uprock Headphones Athletic Red (2012 Color), One Size

So an iPod, a rugged case, and headphones.  A must in our Creative Solution traveling tips!

Traveling Tips: Portable External Battery USB Charger

After traveling with my two boys, ages 8 and 6 1/2, over the course of four weeks, from Houston to the Adirondacks, to New England, to China, to Malaysia, and then finally home, I have a lot of Creative Solutions that I want to share.

My kids each have an iPod Touch and a Kindle (e-ink), my husband and I each have an iPhone, an iPad, and a Kindle.  When we fly, my husband and I tend to read, and the kids tend to play games or watch movies.  One of the gadgets that really helped is a Portable External Battery USB Charger.

You charge it at home, and it packs a ton of portable power.  There are little LEDs that tell you how much juice is left.  It has multiple USB ports to charge multiple gadgets at once.  The Portable External Battery USB Charger was especially handy during international travel or long days out when I planned to use my iPhone as a camera.

Monster Jeans

My boy are rough on the knees of jeans, wearing through them far before they outgrow them.  I’ve seen cute ideas on Pinterest (like this one) for patching holey knees, but in reality, my sewing skills are mediocre at best.  And I detest hand sewing.  So here’s a Creative Solution is for a boy-friendly No-Sew Patch that we affectionately call Monster Jeans.

IMG_1380

Materials Needed:

  • Heat-N-Bond (iron-on adhesive) which can be found in the Notions aisle of a fabric store
  • Red material for the patch; I use felt because it’s inexpensive, thick(ish) and feels soft(ish) on the kids’ knees.
  • Fabric paint (or Acrylic paint plus a fabric medium) – white and black
  • Iron
  • Holey Pants/Jeans
  • (optional) Fray Check

Instructions:

1.  Turn the jeans or pants inside out.

IMG_1065

2.  Cut a square-ish fabric patch that has at least a 1″ perimeter larger than the hole.  (Why?  Look at step 3.)

IMG_1066

3.  Cut enough Heat-N-Bond to create a perimeter around the patch.  Pro Tip: You don’t want the glue from the Heat-N-Bond to be on top of the hole… only around it.  Otherwise it gets messy, since the glue will stick through the hole to the “right side” of the jeans.

I can usually find Heat-N-Bond in two widths… I didn’t have any of the thinner 3/8″ width handy, so I just cut the 7/8″ in half when I made my perimeter.

IMG_1068IMG_1069

4.  Flip the patch, carefully placing the Heat-n-Bond strips around the hole, and iron.  The Heat-n-Bond directions say to use your iron on the steam setting.  Do that.

IMG_1070

5. Let the patch cool… I usually do several pairs of pants at once, so this is the time to repeat steps 1-4 with the other pairs.

6.  Turn the pants/jeans right side out and use either a small scissors or seam ripper to cut away the white fringe… possibly making the hole a little bit bigger so that the red is exposed.

IMG_1075-001


7.  Paint the whites of the eyes.  If you don’t have fabric paint, you can just use acrylic… it may fade/chip over time, or it may not.  I have the fabric paint handy, so it was no big deal to use that.

IMG_1074

8. Let the white paint dry.  Don’t be impatient; they will smudge if they aren’t dry (don’t ask me how I know this).  Then go back and dot your eyes in black or blue or whatever color your Monster wants to have.

IMG_1076-001


9.  The first time I did these, I used Fray Check around the mouth so it wouldn’t get all frayed… but the whites of the jeans end up looking like Monster teeth, and they really don’t fray all that horribly… so don’t worry about it.  Use it or don’t… it’s optional!

IMG_1378

10. Let the paint fully dry (overnight is best, so it sets really well) before letting your kid wear it.  Wash the jeans as you normally would.  Feel free to add more patches as needed.

IMG_1077

Aren’t these Monster Jeans just adorable?!


Working with Teens

At different points over the past few years, several friends have asked about (or expressed frustration with) hiring teens or working with teens in various dimensions.  In this post, I hope to offer Creative Solutions for adults who want to work more effectively with teens. I hope to offer suggestions in a way that respects the growing, developing teen, so please read these less as “solutions for teens” and more like helping adults with their “stance” or “approach” to the situation.

Let me explain: I spent nine years teaching high school; the last five of those years were spent directing a high school service learning program and teaching morality to 16 year old girls (and I loved it!).  My own kids are 7 1/2 and 6; I offer these insights more as an educator than as a parent.

It Takes A Village

Think of yourself more as an educator working with a student than as an adult that wants to hire an employee; an apprentice, if you will.  That kid’s parents and (paid professional) teachers are doing the best they can.  The rest of us need to help.  It takes a village to raise a child?  It takes a village to teach teens how to be the kind of responsible, proactive workers we would all like to hire.

Teens are still learning and growing.  When you hire them for a job, understand that you are teaching them how to be an employee.  We need to both inform them as well as form them:

Picture1

  • Inform them – on what you need to have done
  • Form them – into the kind of person you want to employ

I’ll talk more about “informing” teens in a moment, but first a word about “forming.”  It’s this second piece–forming character–that kids need the whole community of adults to take seriously.  Form them, mold them, mentor them, and you will do the world a service.  Bonus: you’ll get the employee you seek!

Formation with Mutual Respect

Yes, form and mold them, but do it respectfully.  Although they might not always be able to cognitively express it, teens are very emotionally intuitive.  They know when they are being patronized.  Or used.  There’s a thousand clichés that encourage kindness and love over judgment.

I often encounter adults who get annoyed with a teen who is not performing a given job as expected.  But rather than talking to the teen, they’ll just opt to not hire them again.  I encourage you to talk with the kid.  Sometimes they need more information.  Sometimes they need more formation.

In reality, teens (like all kids… and all of us, honestly) make mistakes.  Some of them careless or negligent (where they should have known better), other mistakes are honest and innocent.  Work from the presumption that the teen you’re working with really wants to do the right thing.  They need you to teach them.  And remember it’s not just about you: the whole world will benefit if you can help in the formation of this kid.

I find that Stephen Covey’s Seven Habits of Highly Effective People (as well as Sean Covey’s Seven Habits for Highly Effective Teens) offers some great guiding insights here.

  • Habit 1: Be Proactive – Take “being responsible” to the next level.  Instead of responding to problems, think ahead and prevent a situation from becoming a problem.
    • Explicitly tell teens that you value this characteristic.
  • Habit 4: Think Win-Win – Rather than thinking about a situation having a winner and a loser pitted against each other, think of the situation in a way that is mutually beneficial for all.
    • Try to approach every conversation with teens with this mindset.
  • Habit 5: Seek First to Understand, Then to be Understood – First listen.  Don’t presume you know why something did (or didn’t) happen.
    • Ask (non-threatening) questions with the honest intention of understanding.  Once the teen is assured that you understand his/her position, then they will be more likely to listen and understand you.

I won’t say that I practice these insights perfectly every time, but they make a huge difference.

For example: I currently use a 14 year old neighbor “Gary” as my babysitter.  Last summer I hired Gary to watch my boys while I worked at home in my office for a few days here and there.  He had watched the kids several times before, but just for an hour or two before bedtime.  This was for a 4-5 hour mid-day block.  I needed him to feed them lunch and watch them all afternoon, while I worked.  His first summer-sitting day was on a Friday.  He was a little on the “passive” side and my kids got bored.  After five hours, it bordered on disaster for everyone.

I took the weekend to think it through and asked him to come by the following Tuesday evening (before I needed him to babysit again).  It helped that several days had passed; we were able to talk more objectively about the situation and less emotionally.  I suspected that he was babysitting because his mom thought it was a good idea, and I wanted to give him an out.  But rather than accuse or assume, I asked:

Do you really want this job?

To my surprise, he said “Yes.”  So I continued: “I’m glad to hear you say that, but as I’m sure you know, the way things ended on Friday did not work for anyone.  Let’s talk about what we can do differently.”  For starters, I explained that I need a proactive sitter so that my kids don’t get bored.  He didn’t need to be an entertainer, but he did need to direct, oversee, and suggest (as well as supervise cleanup).  I gave him a list of all the games and activities they could do.   The next summer-sitting-session was a thousand times better.

Information: Be Clear On Expectations

When hiring a teen, one of the first things adults want to know is how much to pay.  Regional costs of babysitting, for example, will vary greatly.  Most kids have a hard time discussing pay.  They will say “I don’t know; whatever.”

In reality, the teen needs a chance to size up the scope of the job.  For instance, with babysitting, teens want to know :

  • How many kids?
  • How well-behaved are the kids?
  • What does the teen actually need to do while they are there?

Still, teens often have a hard time figuring out a number.  In addition to always asking the teen what their rate is, I would suggest:

  • Know the regional going rate for babysitting.  As with any job, the more inexperienced teens will be paid less (and will need you to form and inform them a little more).  Be able to suggest a fair rate if the teen waivers.
  • Clearly articulate your priorities

When it comes to priorities, be explicit.  In babysitting, the safety of the kids is the #1 priority.  Be overt; say it aloud.  That way if you ask the teen to do anything else, they can be assured that nothing matters as much as your kid’s safety, and are encouraged to make decisions accordingly.

Then consider what else you’d like to see happen:  Would you like the teen to feed them dinner?  Would you like them to clean up afterwards?  Consider whether or not you would be willing to pay a sitter an extra $1 or $2 an hour to come home to a clean house.  Explicitly tell the teen this.

If you can clean up after dinner and make sure the kids’ toys are picked up, I’d be happy to pay you ___ (more).  If you’d rather not, we can keep the rate at ___.

If you expect certain things to be done, the teen needs to know it.  If you are willing to pay more money for more work, the teen needs to know it.  If you would be open to the teen suggesting “extra” jobs that he/she could do, the teen needs to know it.

Part of forming teens means helping them make informed decisions (even if the informed decision involves the realization that a certain job isn’t working out).

I welcome your comments and questions.  Let’s help each other form and inform teens.  The whole world will benefit.

Responsibility Charts

Here’s a Creative Solution that attempts to decrease nagging and yelling by using Responsibility Charts.

My oldest has a lot of ADD (ADHD-inattentive) tendencies, so remembering to follow directions (or follow through… or focus…) is an ongoing struggle.

We have the expectation that everyone in our home contributes to the responsibility of maintaining the home, and we also want to raise self-sufficient kids.  For a kid who can’t-gotta-wanna focus, this is very hard.  For his Mom, this involves a lot of yelling.  My basic problem was that too much of my interaction with a kid I love involved yelling–just to remind him to do the things he knows he needs to do.

I needed a Creative Solution to help remind my focus-challenged kid.  Writing down a list helps tremendously.  It focuses attention on the things that need to be done with clarity.  Thus was born the Responsibility Charts.

Basically, I…

  • brainstormed a list of the things I need each kid to do,
    • in different rooms,
    • at different times of the day,
  • printed them up (with words and a small clipart image to act as a visual prompt),
  • laminated them, and
  • hung them throughout the house using Command 3M hooks.

And it worked.  Kind of.  In a better-than-before-but-not-perfect kind of way.  It helps remove my nagging voice from what needs to be done.  Both kids have a better grasp on what needs to be done.  I do still need to remind them to check their lists, but it all involves significantly less negativity.

Brainstorm a List

Think through your day with the beloved kiddo; what are the things he/she needs to do (that you end up having to remind him/her to do)?

To get you started, here’s a look at mine.  Use them as your baseline.  If you’d like a copy of any chart, contact me and I can send you either a PDF or a Word doc that you can edit and come up with your own Creative Solution.

In the bedrooms, one side has “Morning/Bedtime Responsibilities” and on the other is “How to Clean Your Room.”

IMG_1443  IMG_1444

For the bathroom…

IMG_1447 IMG_1446

In the Playroom, one side walks the boys through every thing that needs to be picked up, and the other side includes a list of jobs the boys could do (to earn extra money).

IMG_1438  IMG_1439

In the Kitchen, I post their mealtime responsibilities as well as what they need to do before they are allowed to play.

IMG_1437  IMG_1436

Recently, I created a new variable responsibilities chart, for things that they may or may not need to do in the morning.  Instead of me leaving a note, this is reusable.  Sometimes they need to shower in the morning; sometimes they shower at night.  And at this moment in their lives, they need every reminder to hang the gosh darn towel.

IMG_1441  IMG_1442

Laminate & Hang

Because I am an office supply geek, I have a laminator (which is technically called a laminating machine and sounds much less super-hero).  I got mine on a super-amazing deal on Amazon and paid $17.49.  Currently it’s $30.  I also buy the generic laminator sheets from Amazon… 100 sheets for $9.78.  If you are not an office supply geek, it’s ok.  You don’t need the laminator.  Mine makes me happy.  Live and let live.  (If you live close by, I’m happy to lend you mine!)

If you want a sign that can have two sides, a laminator is helpful.  Other options include using a sheet protector or simply stapling/taping it to the wall.

Once I laminated it, I punch a couple of holes in the top, loop some ribbon or yarn through, and hang it on a 3M Command hook.